CNW GP 7's 4142 and 4201 under construction page 4
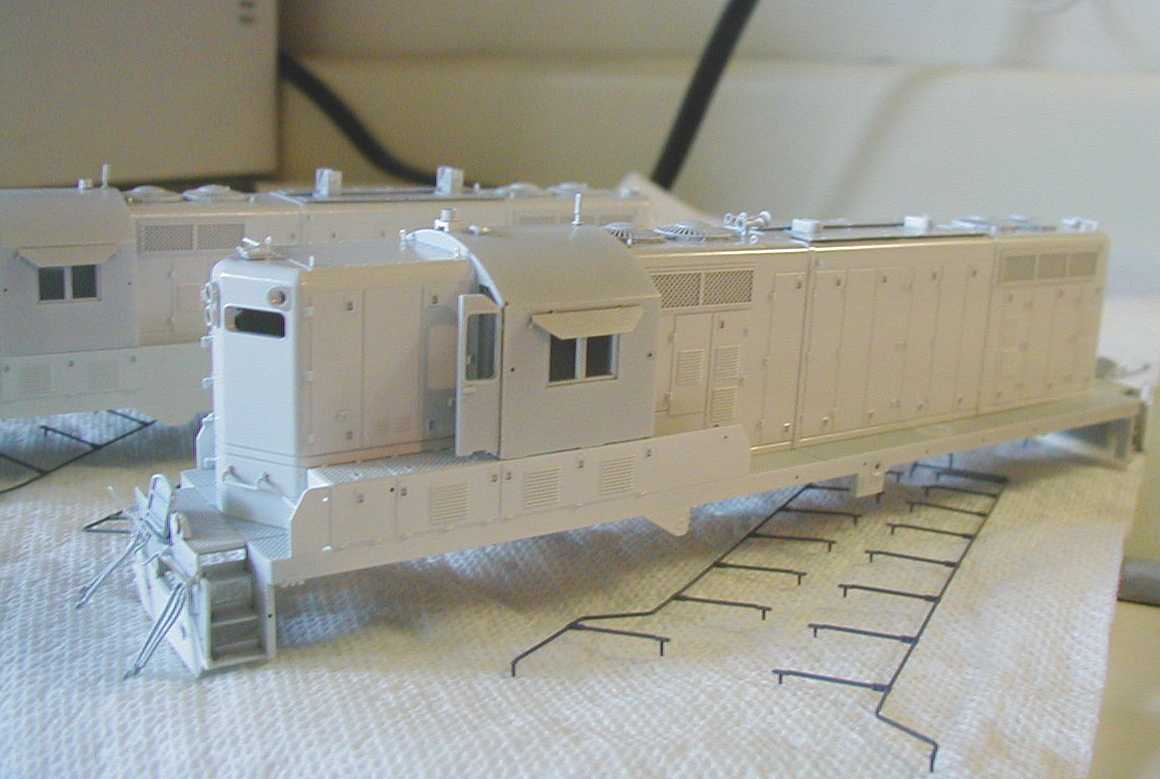
after a shot of white primer
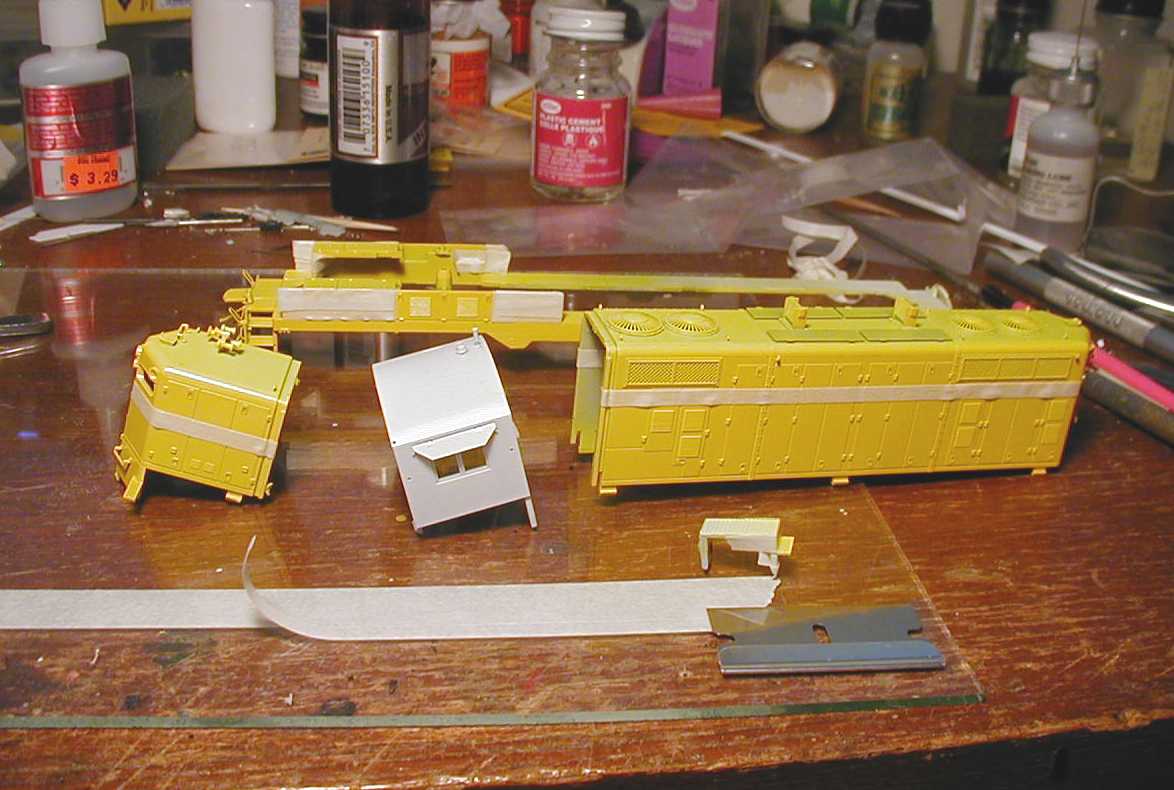
masking for green
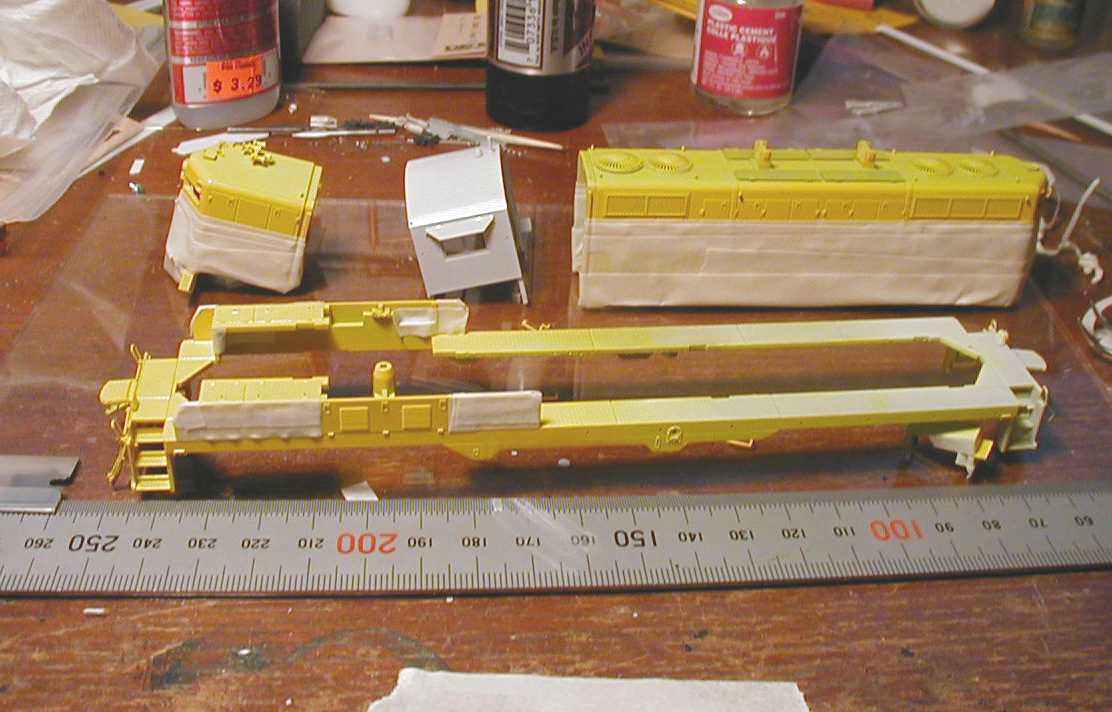
completed mask
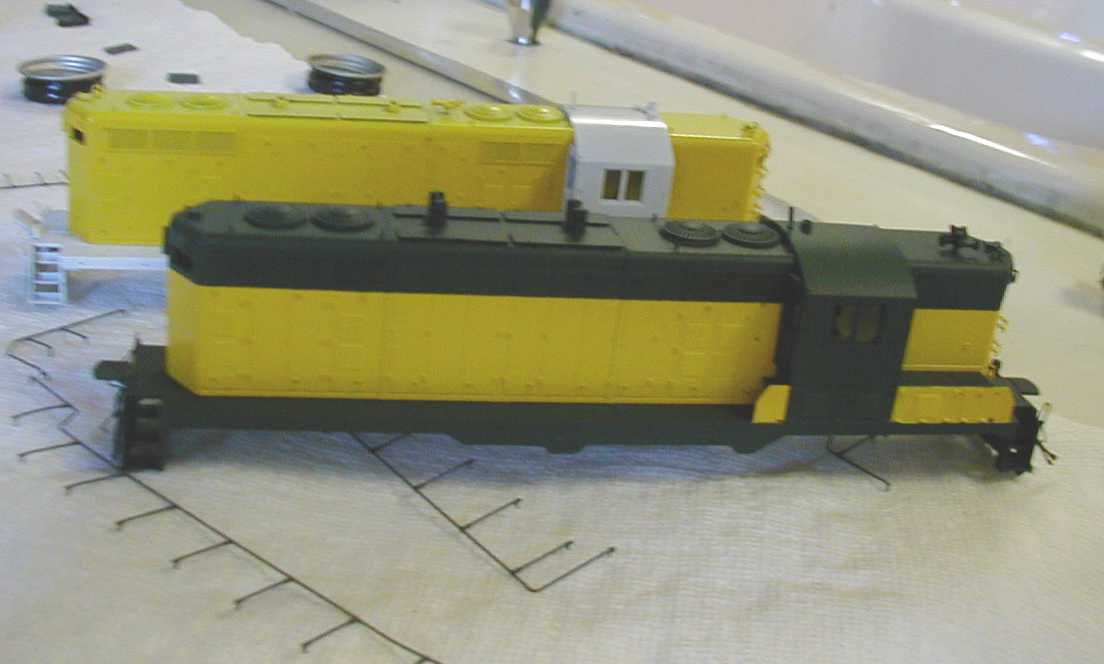
one painted, one to go...
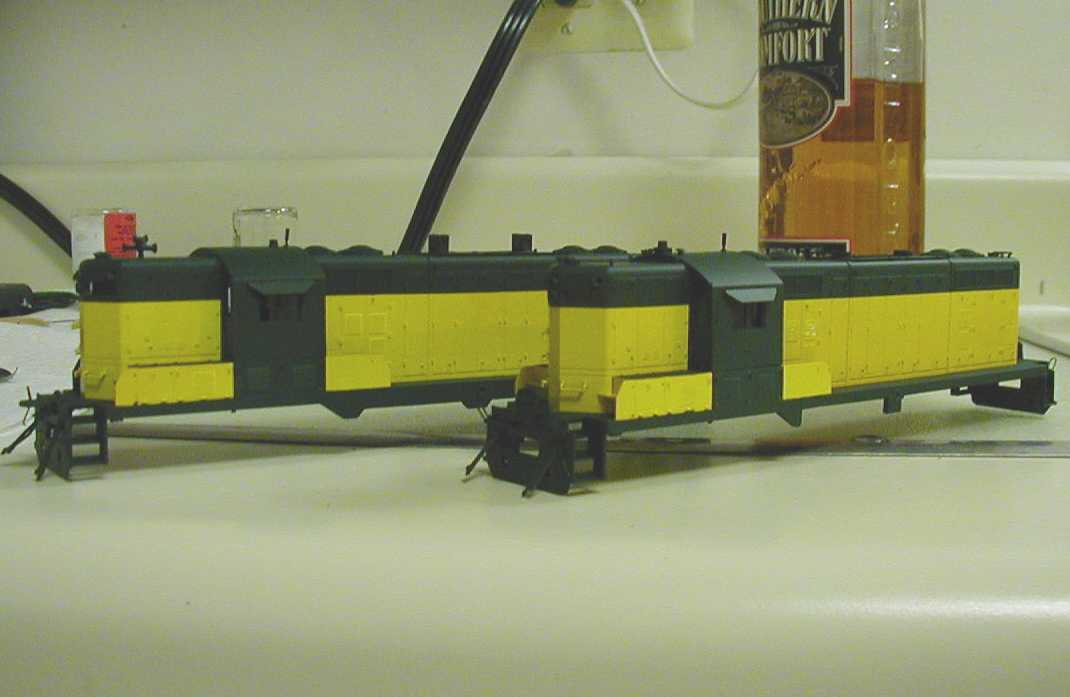
beginning to look like they should;-)
After I checked over the newly primed shells, I sprayed the shells with Des Planes Hobbies CNW Yellow Scalecoat II yellow. After I was satisfied with the coverage of the yellow, I once again baked the shells to force cure the paint.
Everyone seems to have their own different techniques for masking, and in my quest to find one that works well for me, I've tried quite a few. I've heard all of the arguments before...use the 3M drafting tape, use the fine line tape, use Scotch Tape, etc etc. What I've found works best for me ultimately comes down to this. A cheapo 69 cent roll of masking tape from the local WalMart. Yup. The cheap kind.
The trick to nice straight crisp lines is to take a piece of masking tape, put it on a sheet of glass, and using a metal ruler, cut nice
straight edges on it with a sharp razor blade. Once you've placed the tape on the model, use a wooden toothpick to burnish down the mask where it
begins. This gets rid of most all bleeding. I've also experimented with overspraying the mask with the base color you're masking over or using clearcoat, but
I've found this is a waste of time if you burnish down the mask correctly. Just to be certain everything is settled down correctly, I usually go over the mask several
times with a toothpick so I don't miss anything.
Next came a shot of PolyScale CNW green on the shell. I also sprayed the handrails and coupler boxes at the same time. I then tossed everything back in the oven to
force dry the green. Another benefit of throwing the shell in the oven like this is the heat loosens up the adhesive on the masking tape. Pulling a piece out at a time,
I removed the masks. For any area of the tape that seemed like was sticking too much, I hit it real fast with a hair dryer. Once all of the tape was pulled, it was onto the
next step.
I proceeded to paint the sideframes and fuel tanks Testors Acryl semigloss black. Why this peticular acrylic paint? Simple. I had it onhand, and I'm weathering these units anyways, so it doesn't really
matter if the finish is gloss, semi, or flat. After that, I gave each sideframe and fuel tank a shot of dullcoat thinned with lacquer thinner. Next, I gave each sideframe and fuel tank an uneven overspray of
grime and crud mixture I concocted. Once that step was completed, a final shot of dullcoat sealed everything in.
Back to page 3
Next to page 5
In Progress Page
Home
© Copyright 2005 Kelley Duford
Last Updated 1/11/2005